360° Camera Calibration – Quick Guide
Step 1: Place the calibration cloth in front and back of the car.
Step 2: On the remote, go to Menu → Calibration.
Step 3: Press Manual.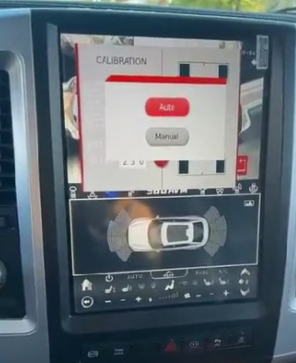
Step 4: When prompted, “Do you want to take a picture?”, press Yes.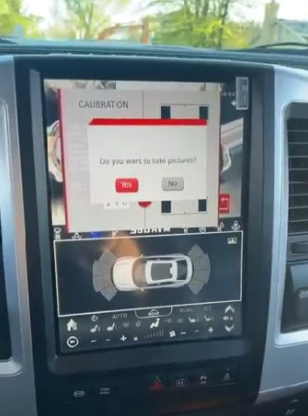
Step 5: Press Back on the remote, then select Calibration again.
Step 6: Press Auto and wait for “Processing, Please wait!”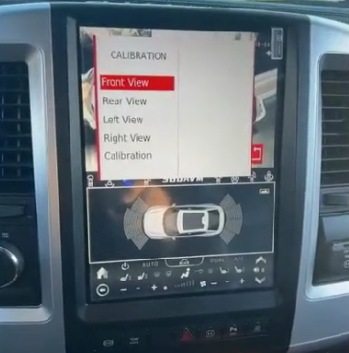
Step 7: If you see “Failed to calibrate”, continue.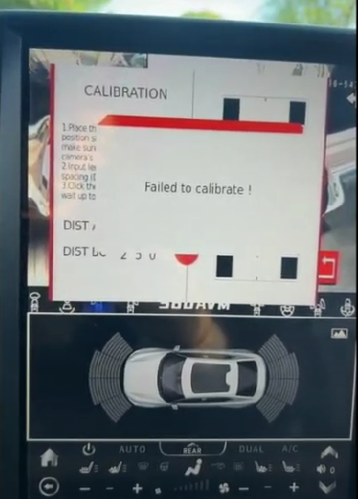
Step 8: Press Back, check if the front/back view displays an image.
Step 9: Adjust the cloth left or right as needed.
Step 10: Repeat from Step 1 until calibration succeeds.
Was this article helpful?
That’s Great!
Thank you for your feedback
Sorry! We couldn't be helpful
Thank you for your feedback
Feedback sent
We appreciate your effort and will try to fix the article